Showing posts with label pattern hacks. Show all posts

Wednesday, September 1, 2021

Another Box Top sleeve hack! Add a ribbed cuff.

 The change of seasons always makes me look at the clothes in my wardrobe and think about what it is I no longer wear, and what I'd like to wear.

Sometimes, I add a garment, and find a gap for something to wear with that new thing.

And sometimes, it's a chance look at some fabric and notions I already have in my stash, and this sparks a thought for a possibility.

And so it was for a length of very nice plaid linen. I had been contemplating what kind of top I wanted from this fabric, but it wasn't until I happened accross a small piece of cuff ribbing I had left over from another project that I thought perhaps a cuffed short sleeve to a Box Top would be just the ticket.


So, this is a super easy sleeve hack for the Box Top. 

Begin by following the instructions for the cuff sleeve hack (find that HERE) starting at step 1 and continue until you've finished step 4.

Now we'll add the rib to your short sleeve!

Cut the rib about 2/3 of the width of the cuff sleeve. Calculate this by dividing the width of your cuff by 3, then mulitply that by 2.

For example, if your cuff sleeve is 48cm wide, then divide by 3 = 16cm, now multiply by 2 = 32cm.

32cm becomes the length of your rib.

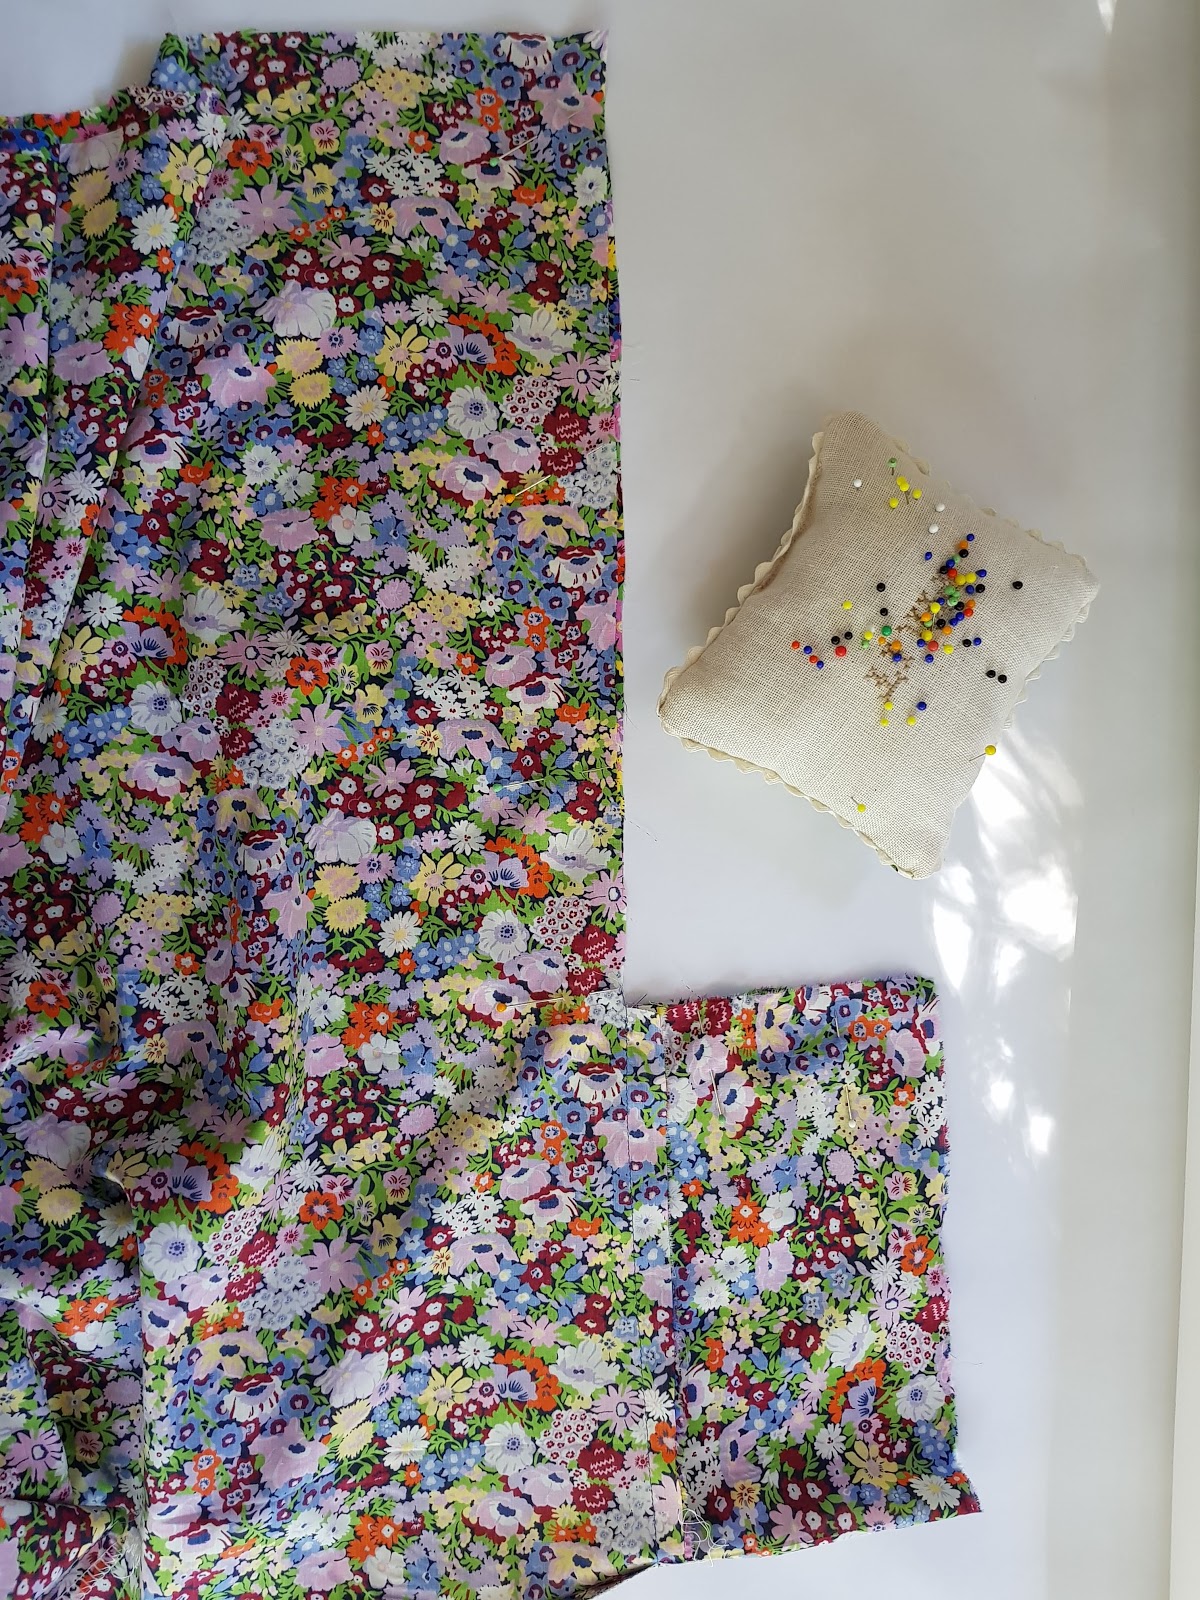
Now pin your rib to the cuff sleeve, right sides together.

Stretch the rib as you go to make it fit your cuff sleeve, making sure the stretch is evenly distributed.

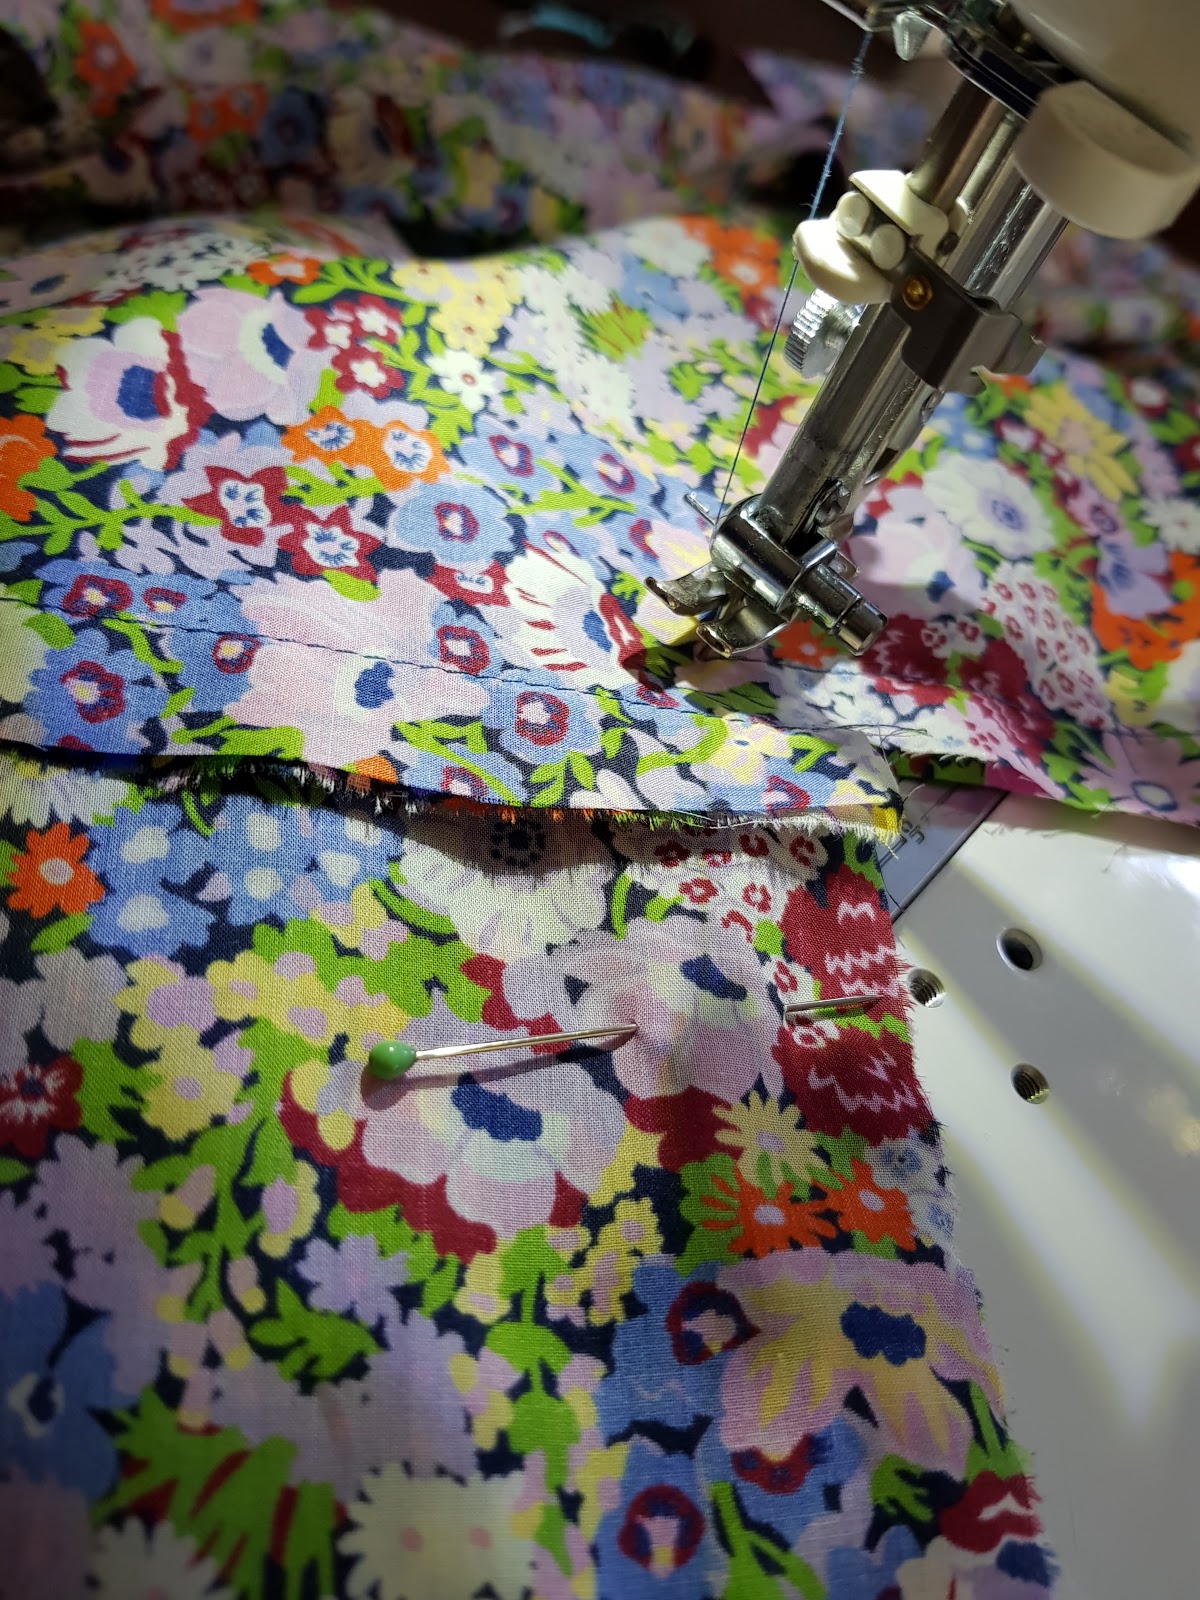
Now, stitch the rib to the cuff sleeve, stretching out the rib as you go.


Finish the seam allowance with either an overlocker, or with a zig zag stitch.


Now sew your top front, back and sleeves together following the cuff sleeve instructions 5, 6, 7 & 8.

And that is that!

Continue with your top as per your Box Top pattern instructions, and you'll have a lovely new top to wear with all your favourite seperates.

Enjoy!

Thursday, May 23, 2019

Box Top pattern hacks. Add a three quarter elastic cuff sleeve.


I love shirts and woven fabric tops.
 They're a hardworking part of my year round wardrobe, adding a layer under one of my knits, and paired with my skirts, jeans and pants. I am definitely a seperates kind of woman, that's pretty much my uniform!

Back in 2016, I made a shirt (named the Blosson Season Shirt) with three quarter sleeves finished with an elastic cuff. I loved those sleeves, and while I've toyed with the idea of bringing that design out as a stand alone pattern, I thought perhaps I could find a way to add a longer sleeve to the Box Top pattern.
And, so I did!
With no extra pattern pieces required for the base pattern, here are the instructions to add this sleeve to your hardworking Box Top design!

If you've already tried the Cuff Sleeve pattern hack, then we follow most of the same steps for this hack, so you're already half way there in knowledge!

Ready?

The first step is to cut 2 sleeve pieces to the measurements as follows - 
Size xs/s - 30cm x 51cm
Size s/m - 30cm x 49cm
Size l/xl - 30cm x 48cm
You can make your sleeves longer or shorter for your personal preference, a good guide is to measure a sleeve from a garment from your wardrobe from where the sleeve joins the garment at the underarm down to the hem. In this hack, the 30cm measurement is the length from the sleeve seam to the sleeve cuff.
As we did for the cuff sleeve pattern hack, the order of sewing construction is going to change from the pattern instructions, so we'll begin here...
1.  Join your top at the shoulder seams, finish those seams together (both seam allowances together) either with an overlocker, or with a small zigzag stitch, and press towards the back of your top.

 2. Open out your top so that it's flat on a hard surface. Now take one sleeve piece and pin (right sides together!) the to edge of your sleeve turnback allowance. Repeat for the other sleeve.


Stitch the sleeves to the top with a 5/8th inch (1.5cm) seam allowance. This means that your line of stitching will line up with the side edges of your top. (see here for photos from the cuff sleeve hack)
3. Finish these seams (both seam allowances together) either with an overlocker, or with a small zigzag stitch, and press towards the sleeve piece.


4.  With right sides together, pin down each side and each sleeve. 


5. Using a 5/8th inch (1.5cm) seam allowance, stitch front to back (right sides together!) in one long line of stitching. Pivot at the underarm by leaving your machine needle down, lifting your machine foot, and turning your work 90 degrees to continue.


6. Now carefully clip into the corner of the seam allowance with your scissors. This allows some movement in the fabric so it will sit flat.


7. Now you can finish both edges of this seam allowance, sewing right across the gap created by that clipped corner, either with an overlocker, or with a small zigzag stitch.
8. Well done! Take a break. A cuppa and a biscuit sounds good.
9. Now we're going to finish the raw bottom edge of the sleeve. I've chosen to overlock, but you can use a small zig zag stitch. If you prefer you could turn a very scant 0.5cm narrow hem and just stitch it in place with a straight stitch.
10. Cut two pieces of elastic for your cuffs measuring 30cm each. You might prefer a little looser or a little tighter, so perhaps measure loosely around the widest part of your forearm and take that measurement as the length for cutting.
I used elastic 20mm wide.


11. Now make a circle by overlapping one end of your elastic over the other by a couple of centimetres and pin to secure.


12. Now stitch around the edges of the elastic, making a square around, and then finishing by stitching a line from one corner to the opposite corner.


13. Now comes the fiddly bit, but you'll be fine! Working with your top inside out, slip the circle of elastic over the cuff end of your sleeve.


14. Turn the sleeve end and fold over the elastic so it just covers the elastic width, and pin.
I like to start at the seam.
Continue to fold the sleeve over the elastic and pin, stretching the elastic out as you go.


15. If you have a free arm on your machine, slip the sleeve over this, stretching the elastic to fit.
Sew the sleeve hem with a straight stitch, stretching the elastic towards you as you go.
We'll stitch on the line of the finishing we made to the sleeve earlier - either your overlock stitch, your zig zag stitch, or your narrow hem.


16. Turn your finished top right side out, and voila! You've just added an elastic cuff three quarter sleeve to your Box Top!


Make yourself another cuppa, sit back and admire your work!

Need a pattern to get started?
You can buy one here.


Tuesday, January 15, 2019

The Box Top pattern hacks. Adding a cuff sleeve.

The Box Top was my very first sewing pattern release, and it's still my most popular pattern.
This simple to make and easy to wear top is the perfect pattern for beginners, if you've sewn a few easy things like a tote bag, or a cushion cover, and you're feeling ready to move on to your first garment, then this is the perfect place to start!
If you have the pattern already, then you might have already tried one of the pattern hacks to make a dress or peplum top, this is an extra that's super easy to do. I promise!
If you'd like to buy a pattern, you can find one at one of my stockists - there's a full list to the left of this post - or buy one online here. Thank you!
I'll cover some of the other techniques like applying bias to the neckline in another post, but here I'll cover adding a cuff to the sleeve to give you a great tee shape. 
Feel ready?
Let's go!


First things first!
You'll need to cut 2 strips of fabric to make your cuffs as follows -
Size xs/s - 15cm x 51cm
Size s/m - 15cm x 49cm
Size l/xl - 15cm x 48cm

We're going to change the order of construction (sewing) from the pattern instructions, so once you have your pattern and fabric cut, and your markings transferred, we'll start sewing here...

1. Join your top at the shoulder seams, finish those seams together (both seam allowances together) either with an overlocker, or with a small zigzag stitch, and press towards the back of your top.


2. Open out your top so that it's flat on a hard surface. Now take one cuff strip and pin (right sides together!) the to edge of your sleeve turnback allowance. Repeat for the other sleeve.


3. Stitch the cuffs to the top with a 5/8th inch (1.5cm) seam allowance. This means that your line of stitching will line up with the side edges of your top.


4. Now press your seam allowance towards the cuff. You don't need to finish this seam because it will be enclosed in the finished cuff.

5. Pin your top front to the top back (right sides together!) up along each side seam and along each cuff sleeve. (apologies for the upside down photo, but you get the idea!)


6. Now in one line of continuous stitching, sew the side seam and the sleeve seam with a 5/8 inch (1.5cm) seam allowance, pivoting where the marking is....important note! the marking IS NOT on the 5/8 inch (1.5cm) allowance, it is placed to mark the point at which you'll pivot. To pivot is to leave the needle in the fabric, lift the sewing machine foot, and turn your fabric around before lowering the machine foot and continuing your sewing. In this case, you will turn your work at a right angle.


7. Now carefully clip into the corner of the seam allowance with your scissors. This allows some movement in the fabric so it will sit flat when turned right side out.


8. Now you can finish both edges of this seam allowance, sewing right across the gap created by that clipped corner, either with an overlocker, or with a small zigzag stitch.


9. Take a breather, we're almost there! Cup of tea? Yes, thanks!
10. Press this side and sleeve seam allowance to back of your top, and then turn in about 0.5cm of the edge of the sleeve and press.

11. Turn the cuff sleeve in so that it just overlaps the seam where you joined the cuff to the top, and press. You might like to put a few pins in to hold the cuff in place, but if you do this, do it from the right side of the top....the reason will be clear in the next step!


12. Turn your top to the right side out. We're going to sew that cuff in place by stitching in the ditch! This means sewing along the line of the seam that joins the cuff to the top, catching the cuff fabric in that stitching on the inside. It's a little fiddly, but go slowly, and use your fingers to feel for the fabric on the inside to make sure you're sewing through all layers. It's a really neat and fuss free finish!


13. Bravo! You've just added a cuff sleeve to your Box Top!
You can now pick up the pattern instructions at the bias neckline, and you'll have a finished top in no time at all.
Make another cuppa, and admire your work!


Need a pattern to get started? You can buy one here.